Readings:
After going through this week's readings, I gained a better understanding of how prototyping is not just about creating a final product, but also about exploring how people interact with our designs. I found it interesting how Carolyn Snyder explains the value of paper prototyping as a simple way to test ideas, while Bret Victor challenges us to think beyond the limitations of current interaction design.
Something that stood out to me was how prototypes can serve different purposes, whether testing functionality, appearance, or the overall experience. It made me realize that we don't always need complicated tools to create something meaningful. Sometimes, a simple prototype can help us discover problems and possibilities that we might not have considered before.
Video:
This week's videos helped me better understand how prototyping can be used to explore and develop ideas before creating a final product. I found it particularly interesting how simple materials, like paper and circuits, can be used to create interactive prototypes without needing expensive equipment or complicated tools. The lecture on 3D design also showed me how digital tools can help us turn our ideas into physical objects with more precision.
Something I found interesting is how both approaches, despite being very different, have the same purpose: testing, experimenting, and improving our designs. It also made me reflect on my own time capsule project, where I started with sketches and simple paper and cardboard prototypes before creating the final wooden box. Overall, I think these lectures helped me realize that prototyping is not just about making something that works, but also about understanding our ideas better through experimentation and learning from the process.
Time Capsule – Process
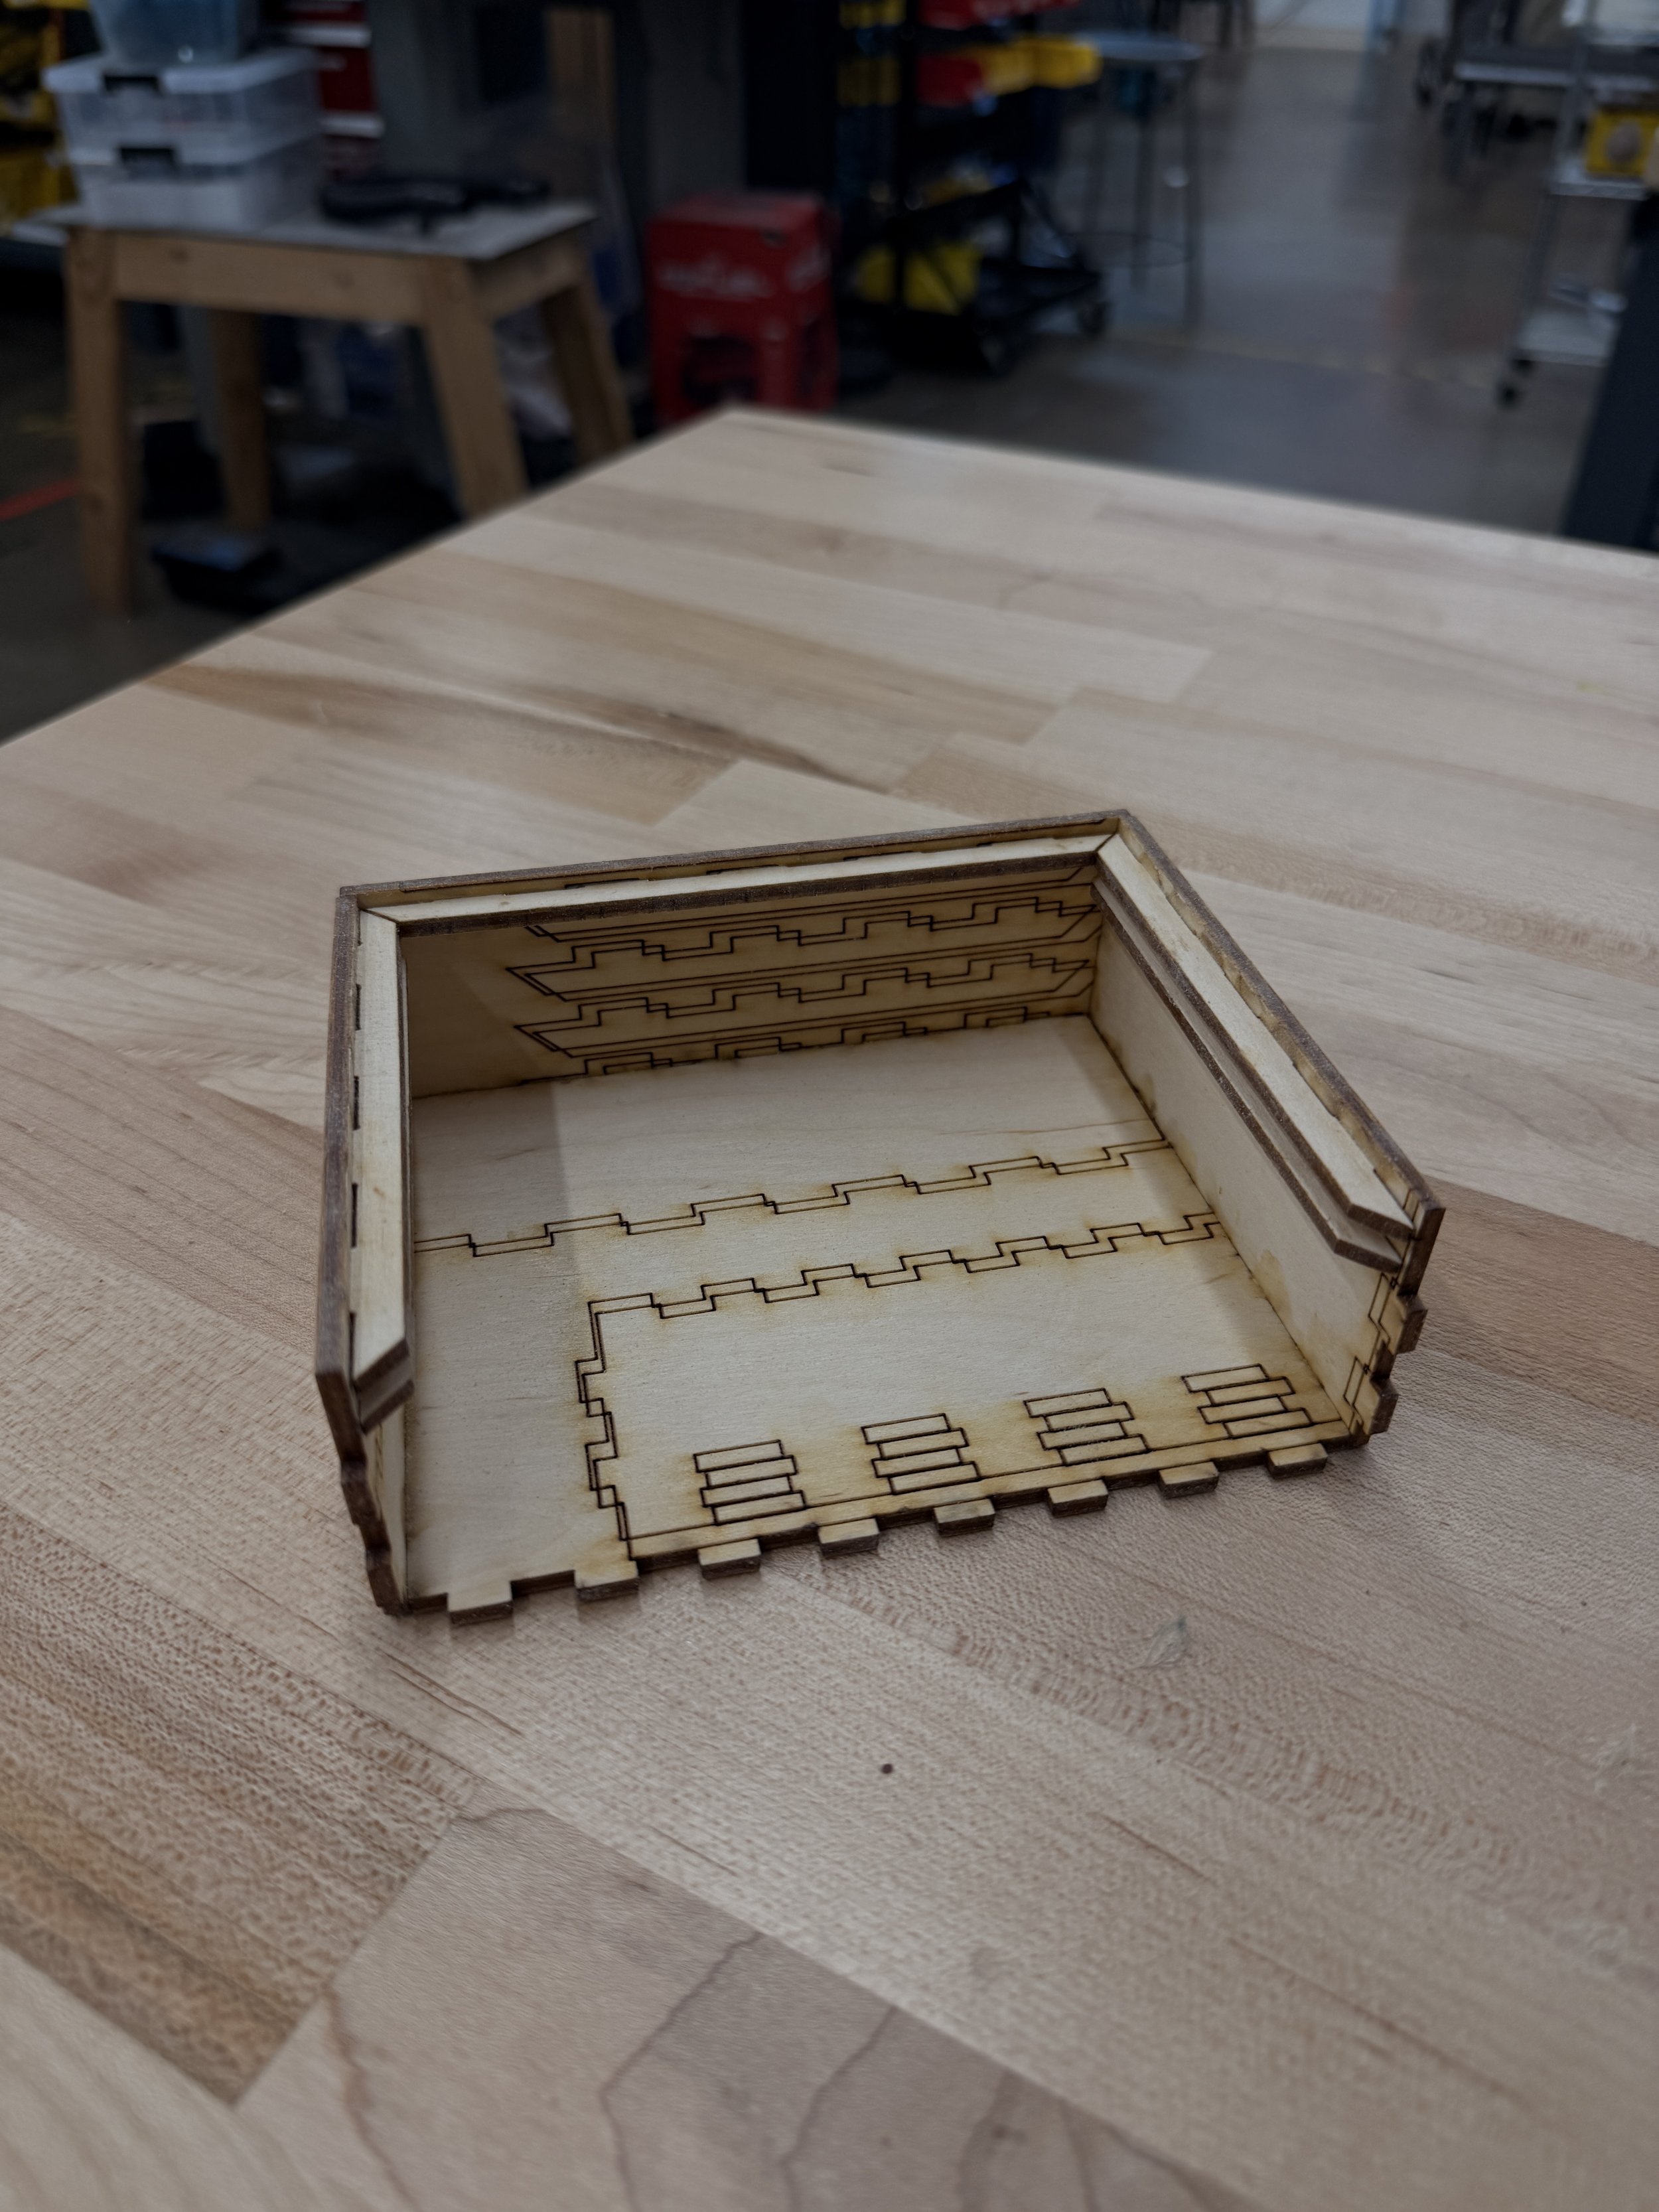
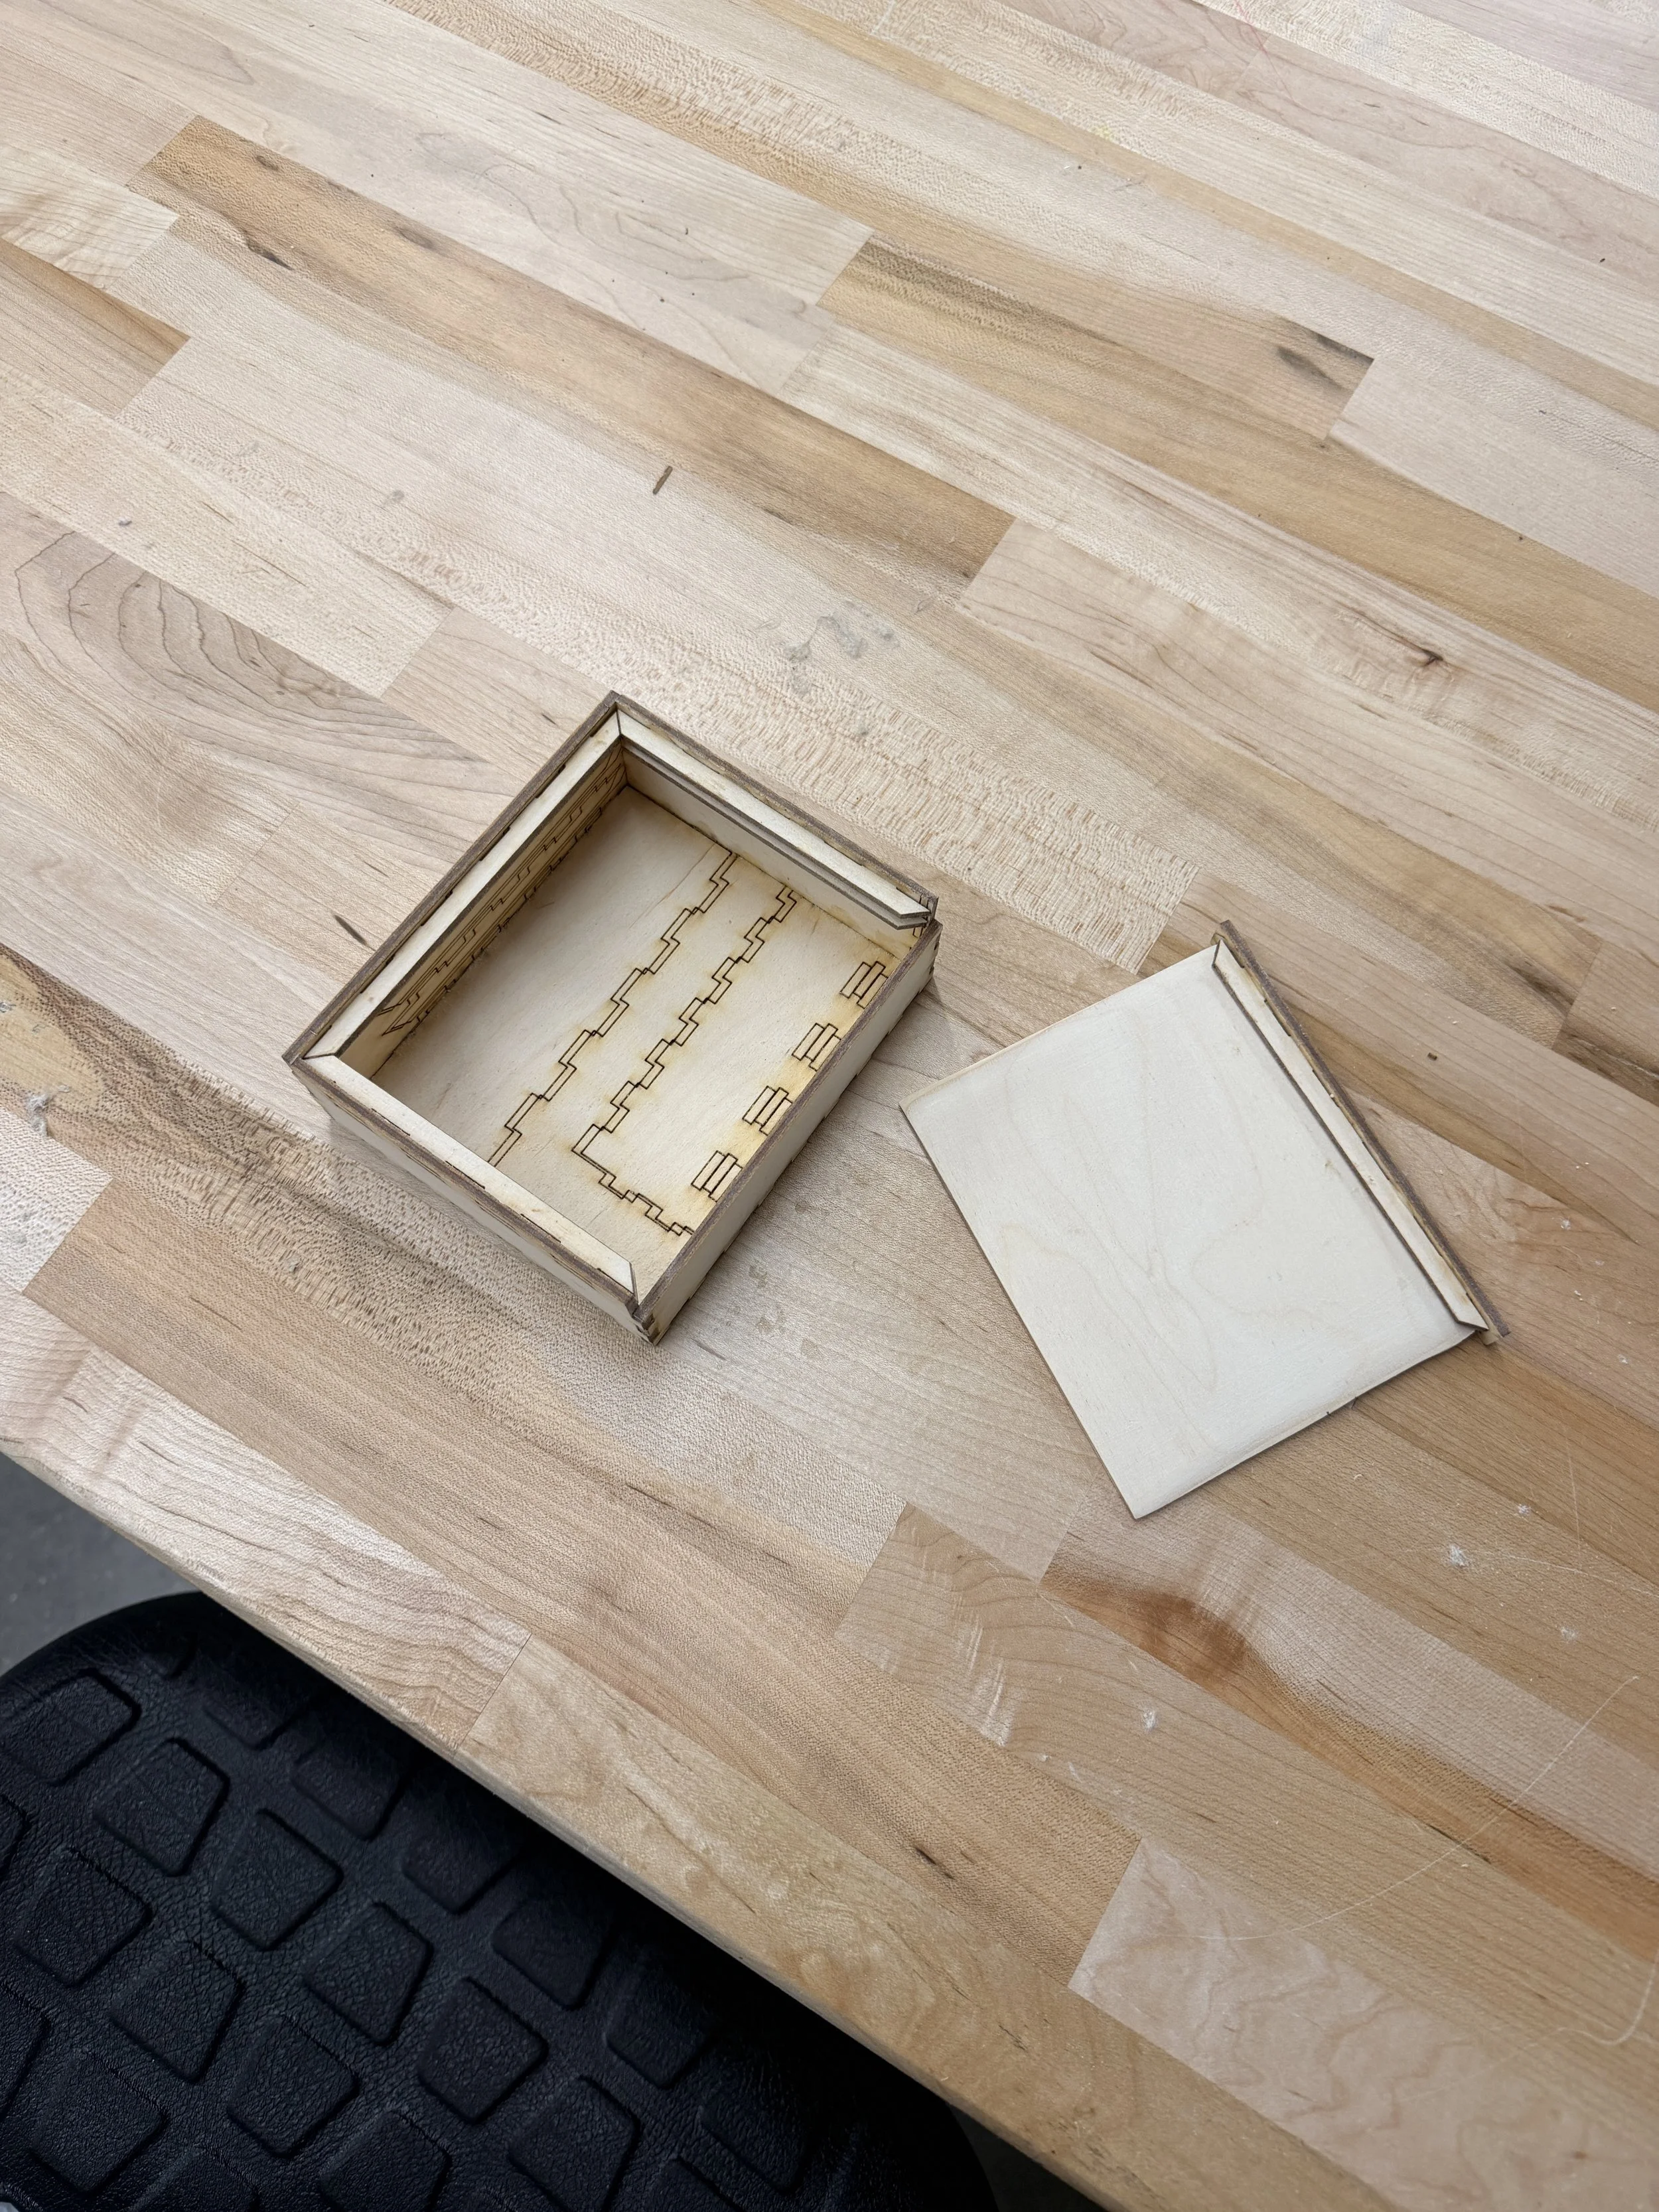
Part 2 – Designing My Time Capsule
1. Sketching and Planning
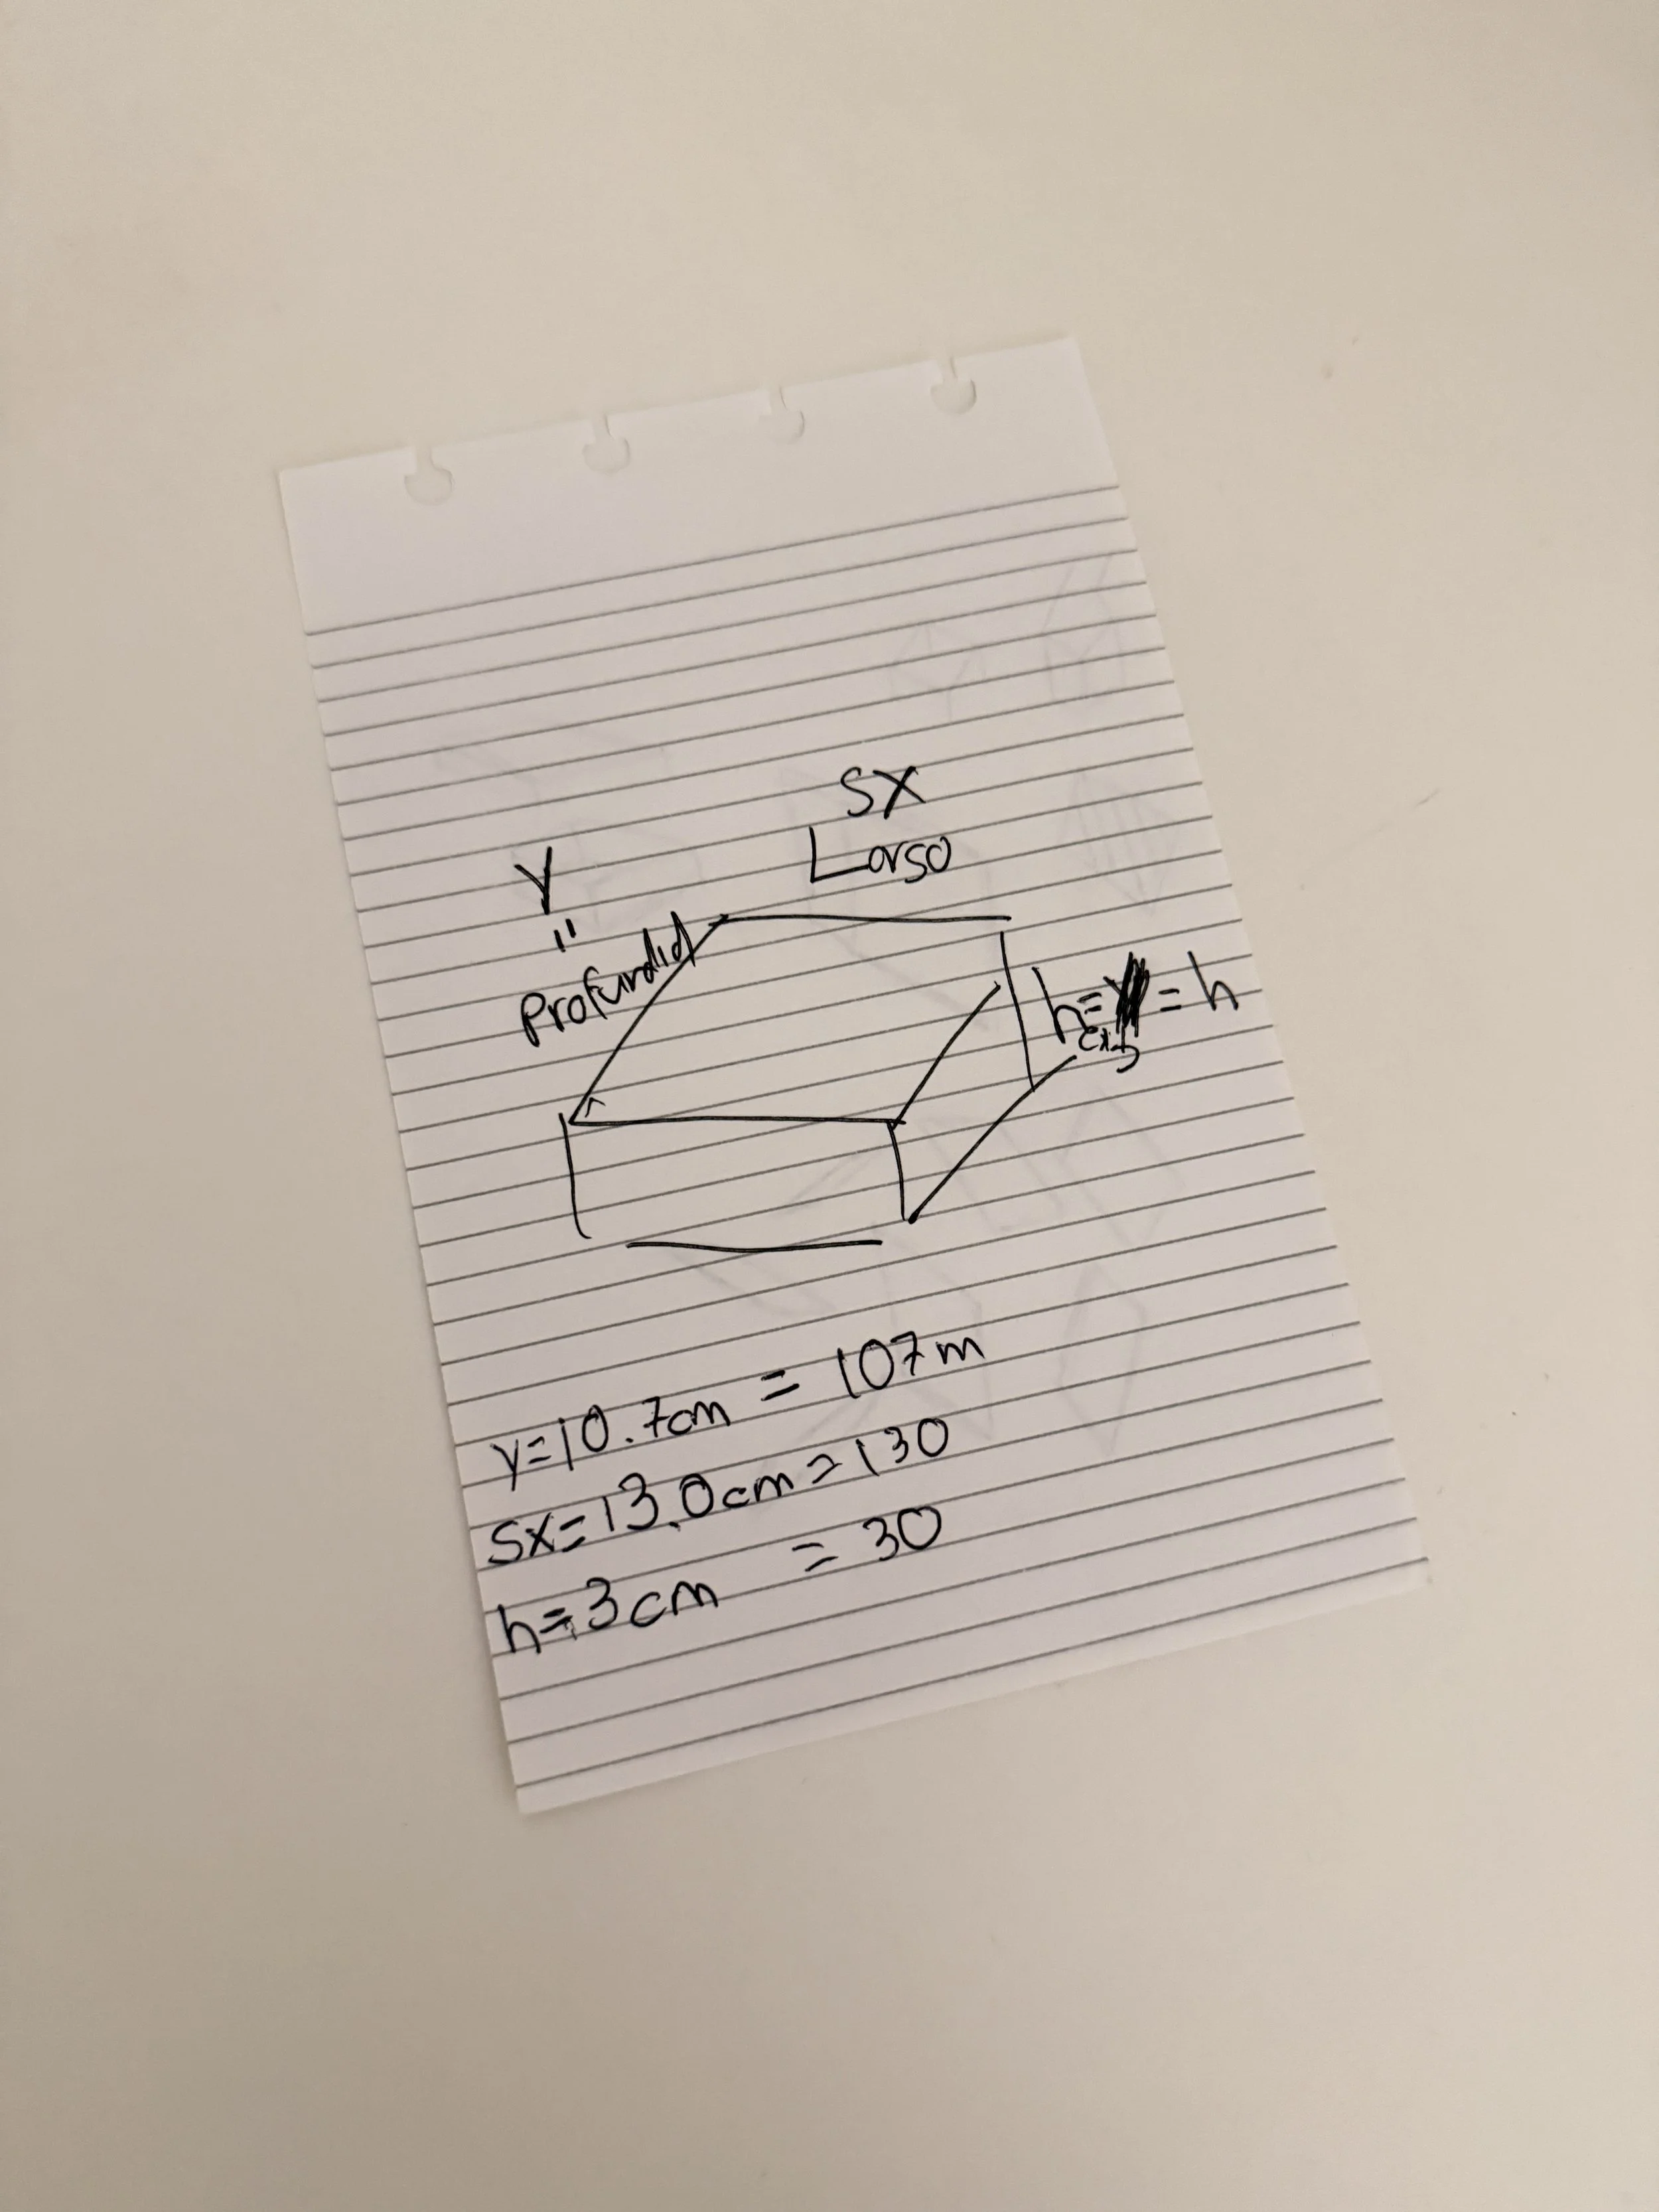
I started by making several sketches and figuring out the dimensions of my box. My main goal was to create a small box that could hold all my photographs and cards comfortably. I had to consider the size of the photographs and how they would fit inside before deciding on the final dimensions.
2. Creating Prototypes
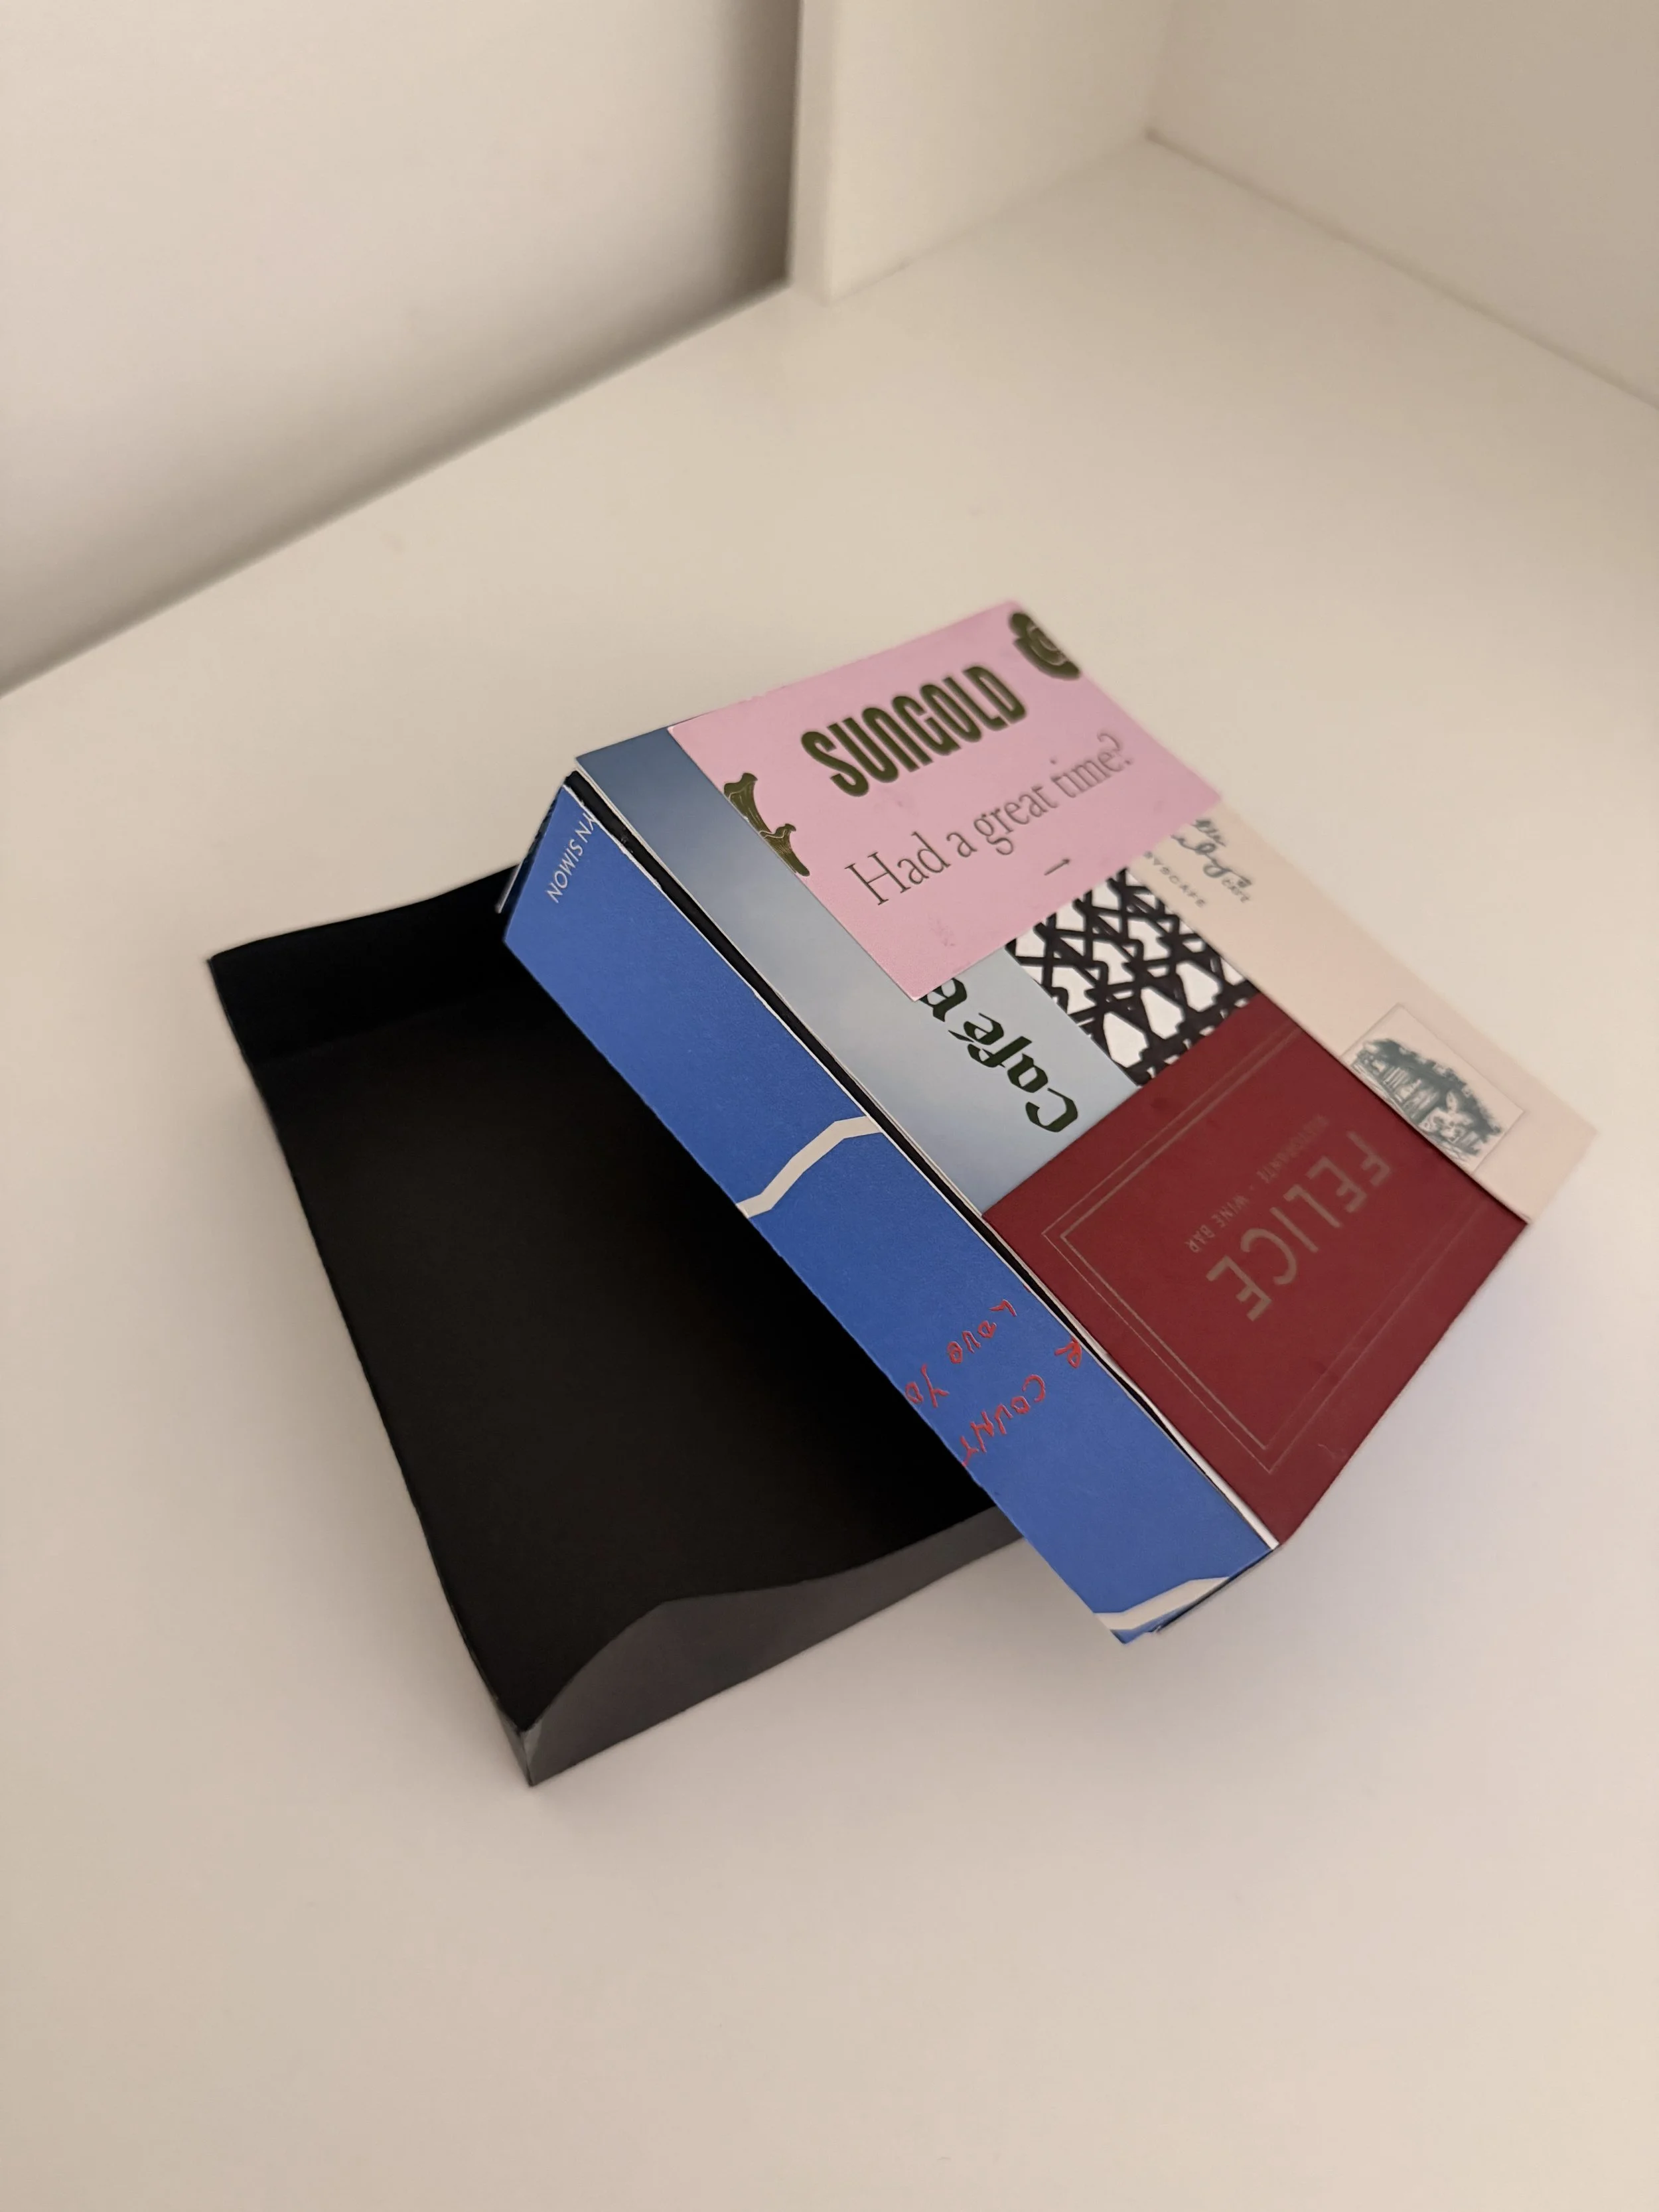
Once I had the dimensions, I created two different prototypes: one made out of cardboard and another out of paper. This helped me better understand the structure of the box and test whether the dimensions worked as expected. It was also interesting to experiment with different materials before moving on to the final version.
3. Digital Design
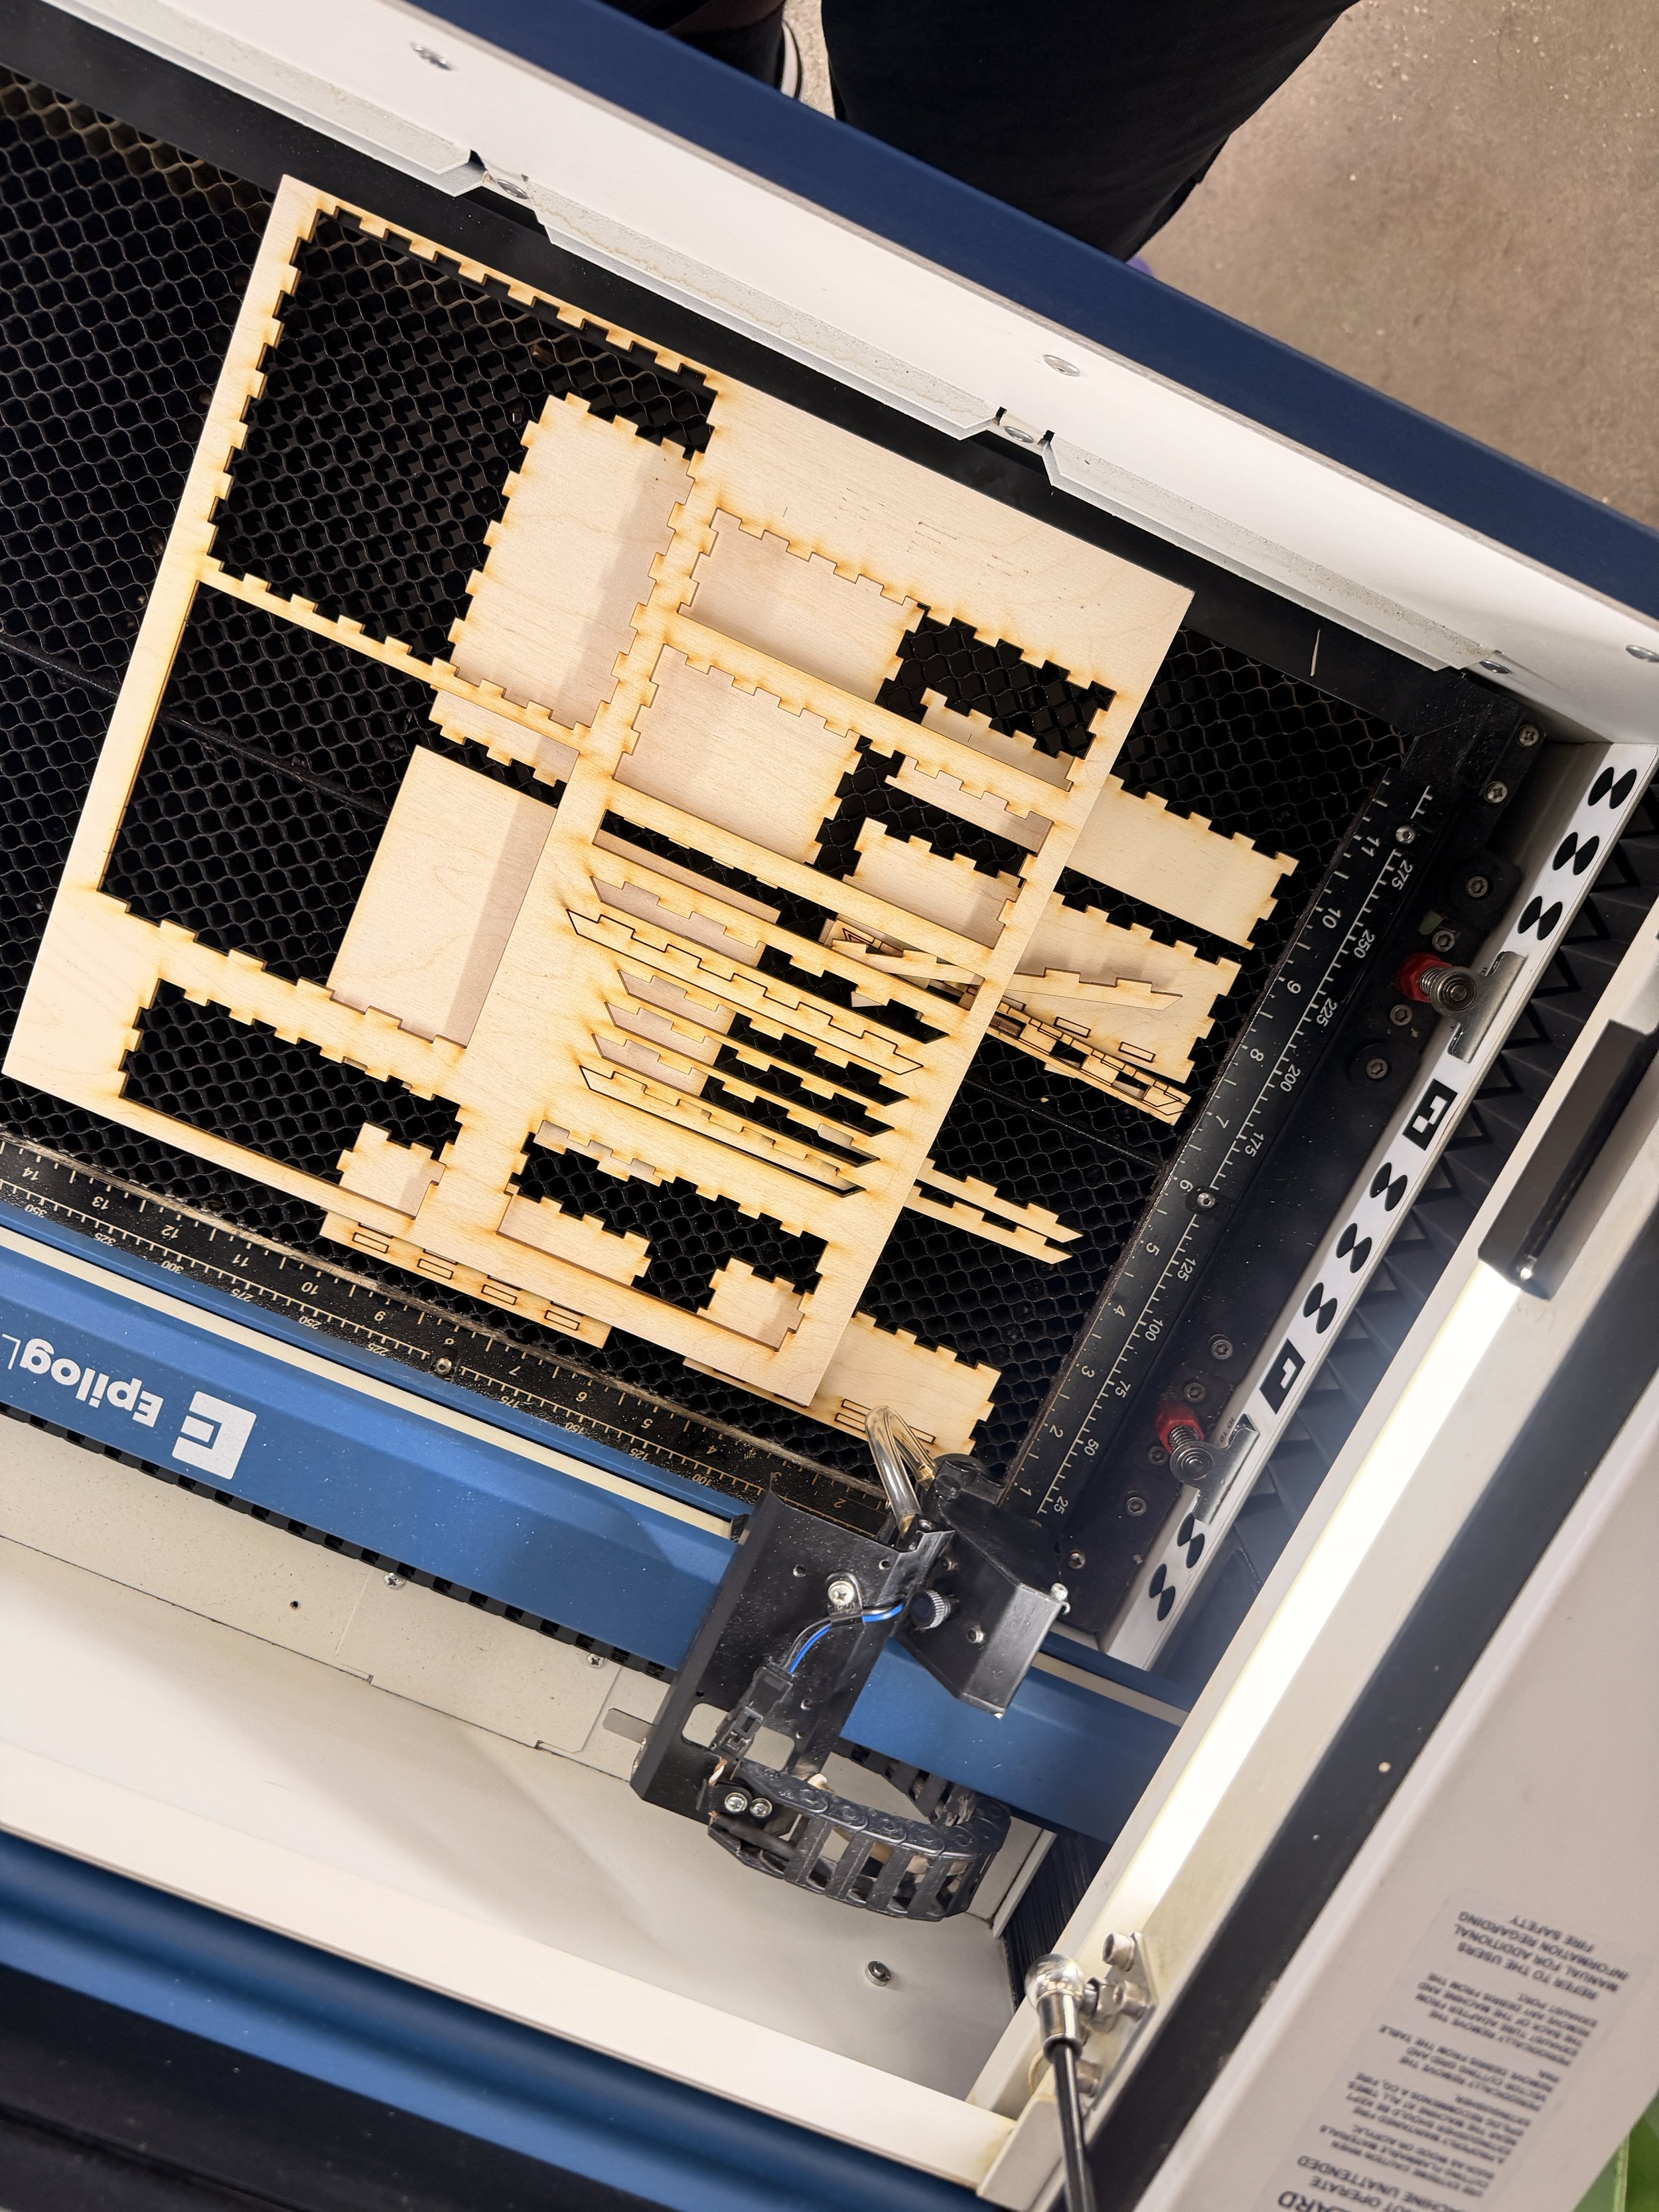
After testing my prototypes, I used the software and resources introduced by our professors to find a box template that matched my dimensions. This allowed me to translate my measurements into a digital design that could be used for fabrication. It was interesting to see how the digital tools made the process more precise.
4. Final Box
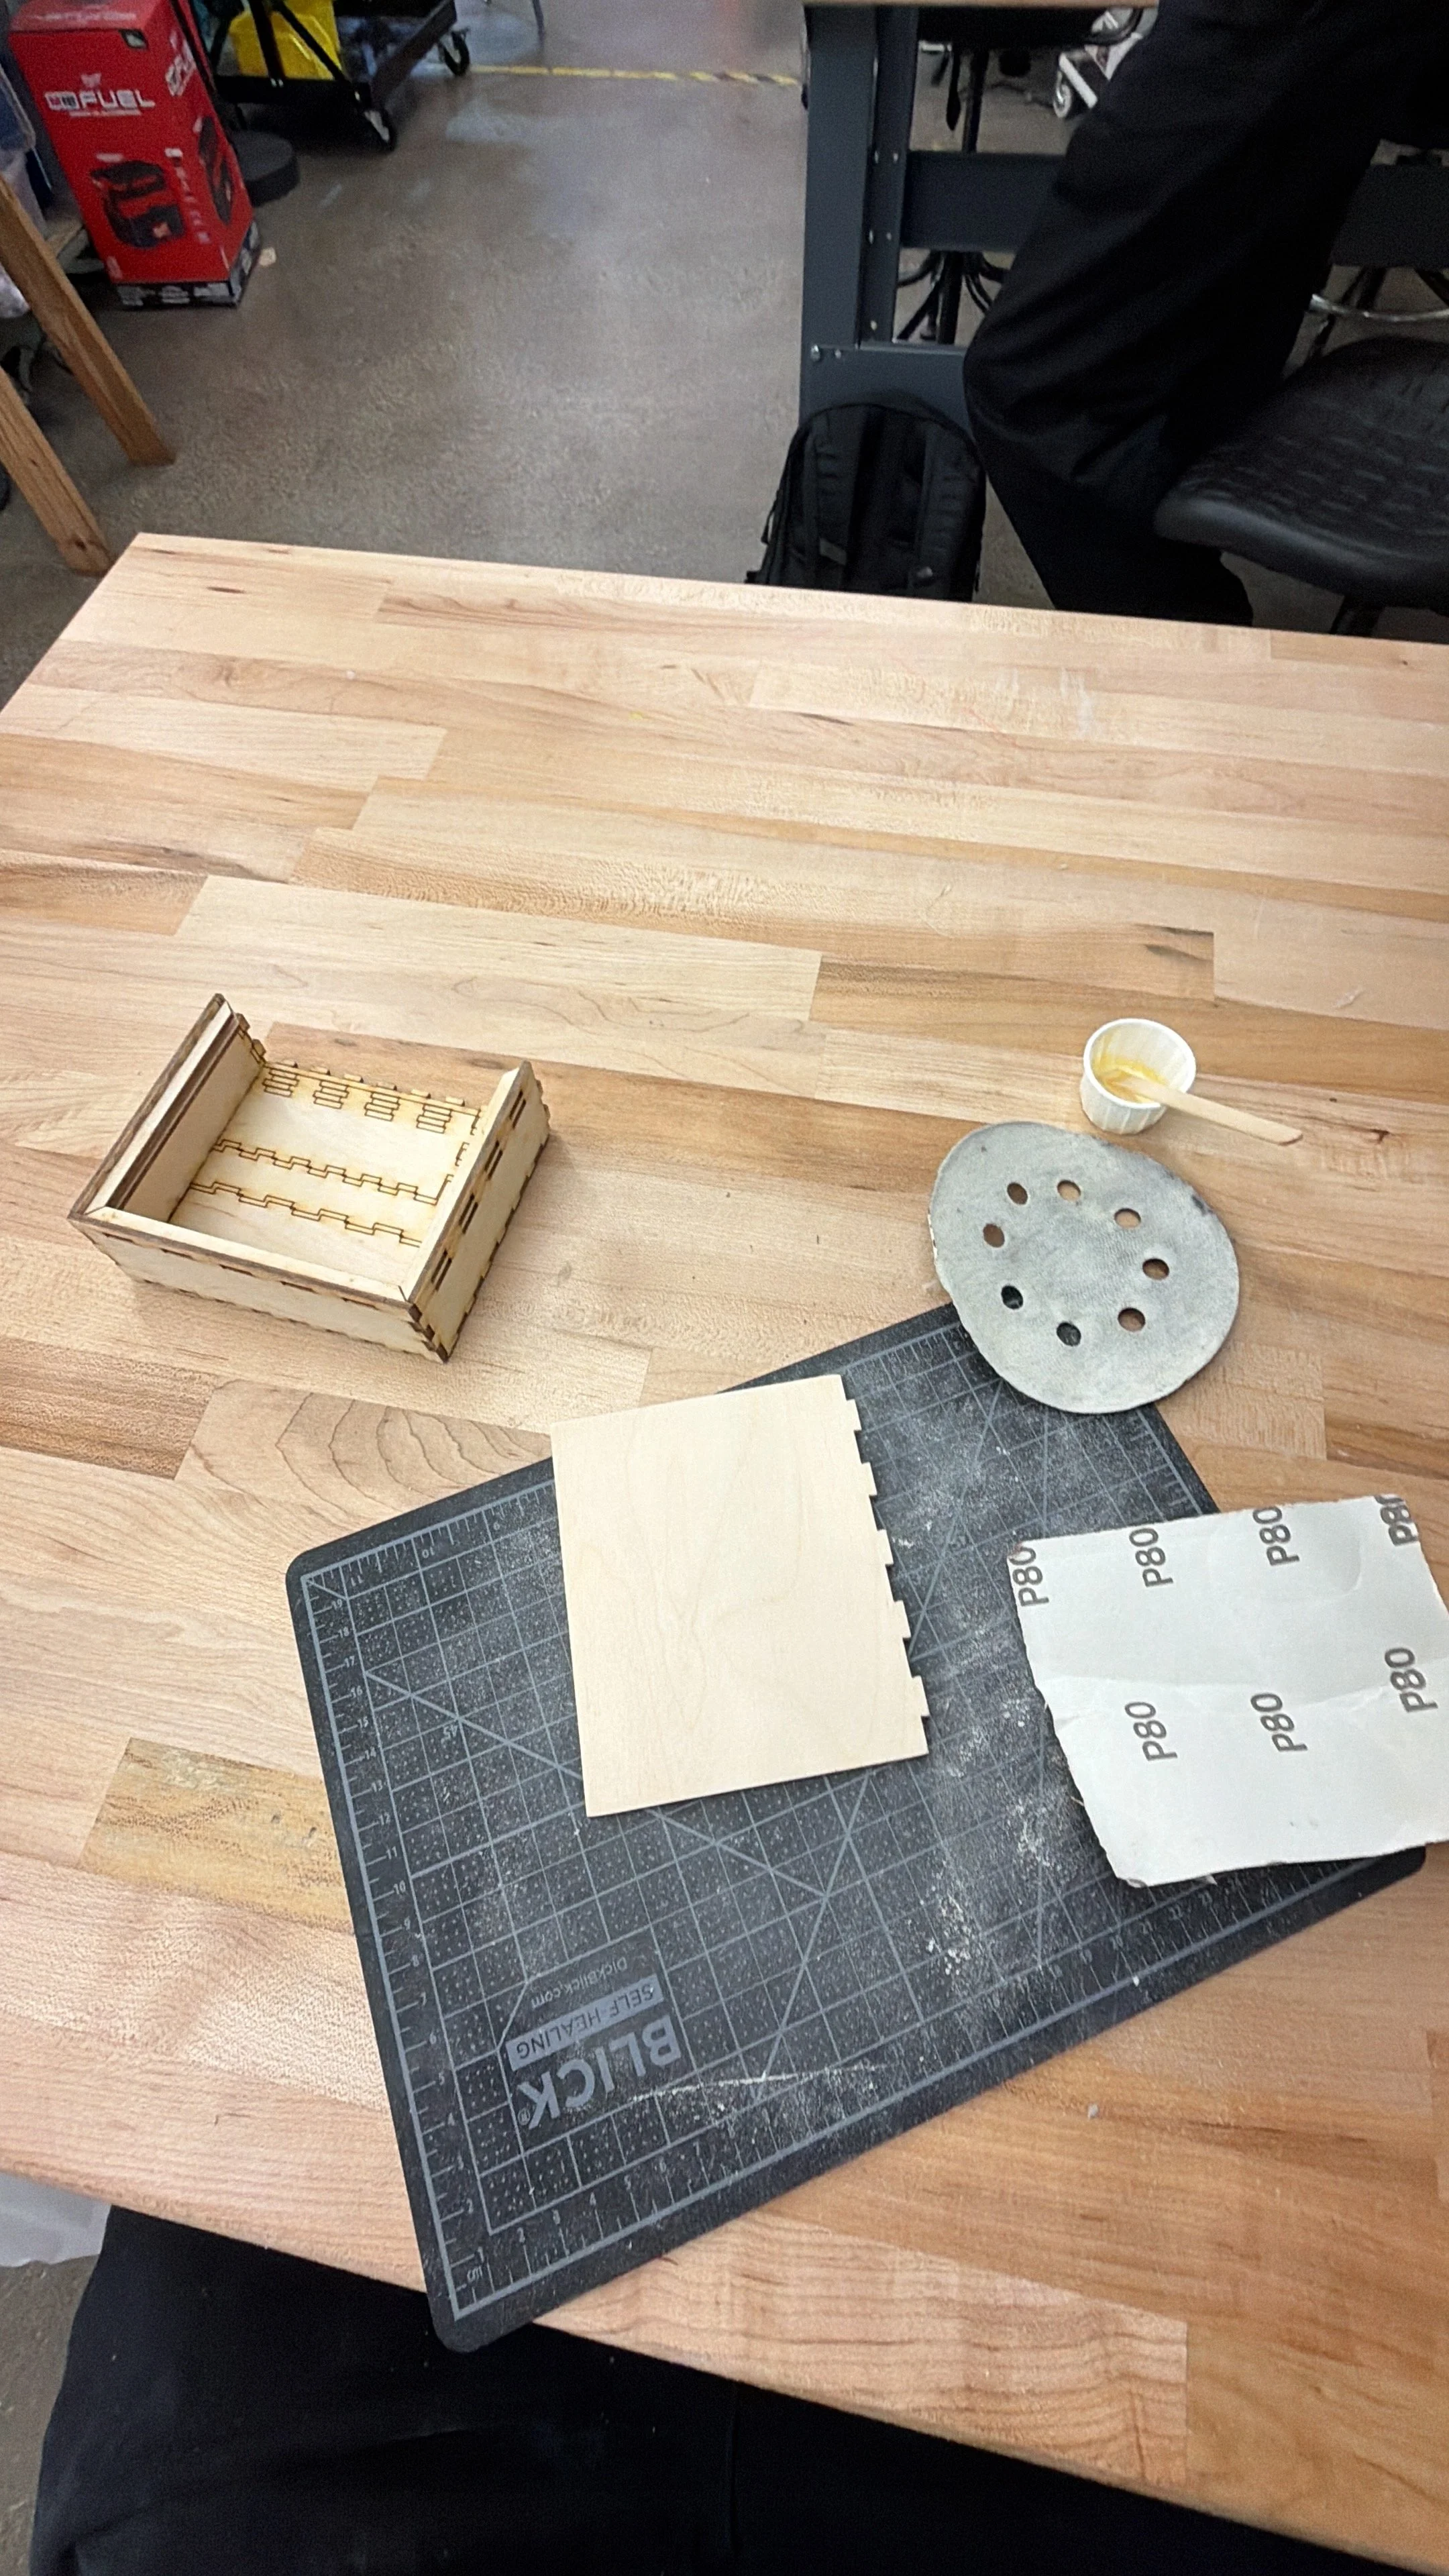
Finally, I completed the required training at the NYU Makerspace and created my final box out of wood. The result worked as intended: a small wooden box designed to hold my photographs and preserve the memories connected to them. I liked how the wood gave the box a more permanent feeling, which connects to the purpose of a time capsule. Overall, this project helped me understand the importance of planning, prototyping, and experimenting with different tools before creating a final physical object.
